Author: maddysmith

  • A Coop de Grâce: Breathing New Life into an Old Shed

    It’s giving functional. It’s giving fox-proof. It’s giving how did we get here?

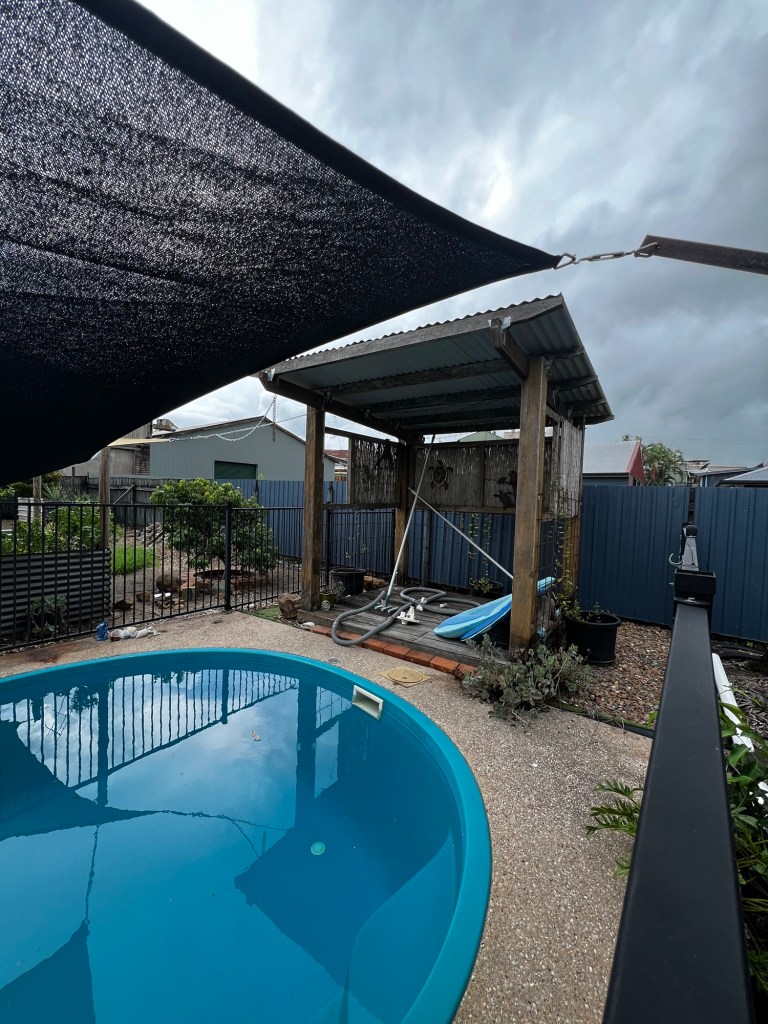
    When we paused work on the bigger house renovations to rebuild our budget (and our sanity), we were looking for a smaller, cheaper project to keep us busy — something practical, a little fun, and ideally not involving asbestos. Enter: chickens. With a half-empty shed whose only purpose was housing rusty corrugated sheeting and the top half of a bird cage (?), combined with a growing curiosity about backyard egg-layers, converting that un-utilised space into a coop felt like the perfect side quest. It didn’t require much in the way of tools or spend, and gave us something tangible (and feathery) to focus on while we waited for the next stage of the house to unfold.

    If you’ve got an unused shed and a mild-to-moderate obsession with chickens, here’s how we turned ours into a safe, functional, budget-friendly (see the end for a full budget breakdown) home for our flock of sixteen freeloaders.

    Predator proofing 🦊

    The first step to keeping any chickens safe in their coop is keeping everything non-chicken out. Where we live, that includes predatory birds, snakes, foxes, and even the neighbour’s cats. Life’s pretty scary for our little nuggets on legs, especially when they’re young and downy like ours were.

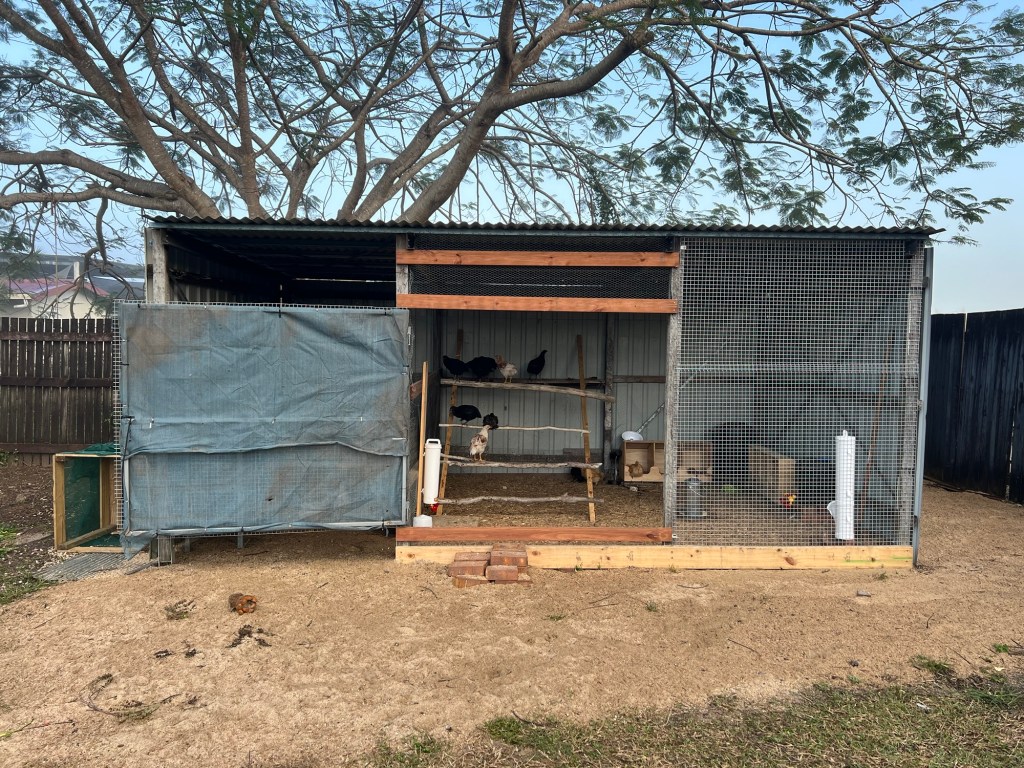
    Luckily, our shed was already roofed and panelled on three sides with Colorbond sheeting, so we just needed to seal any gaps with wire mesh. We used about 60 metres of 1.3 cm bird netting. Regular chicken wire typically has larger gaps (around 5 cm), since it’s designed to keep chickens in rather than predators out — meaning snakes and rodents can still slip through.

    We also made sure the mesh had enough overhang at the base so that, once covered with gravel and bedding, nothing could dig underneath (a known move by local foxes).

    Flooring 🧼

    Keeping our chickens’ feet dry and clean in a humid, often rainy tropical climate was our next big planning challenge. There’s a lot of mixed advice online about what counts as low-maintenance and safe chicken bedding. Without going into too much detail (there are about a hundred chicken-specific blogs for that), Seb and I opted for a layered approach.

    We used the pile of gravel already left in the yard (thanks, previous owner!) as our base drainage layer, then added a coarse particle sand over the top. I know sand can be controversial in the chicken world (never thought I’d write that sentence), but we figured a larger grain size would allow the girls to dust bathe and forage safely, without the risk of inhalation. So far it’s worked really well for us, however if I was to rebuild from scratch, I would probably increase the depth of the gravel beneath the sand to give as much drainage as possible since we still do find dampness beneath the top sand layer. 

    Our final layer is kiln-dried cane mulch, which we’ve found to be absorbent, dry, pleasantly scented, and budget-friendly (wink). With the size of our flock, we change the mulch every 5–10 days to keep things as sanitary as possible.

    Accessories 🪴 

    Now that our chickens were safe from predators and the Queensland wet season, the final step was making this chicken house feel like a chicken home.

    A bit of research told us that a mixed flock can bring its own hierarchy challenges, so to avoid a hen-style monopoly, we doubled up on nesting boxes, waterers, and feeders to give everyone a fair share of the resources.

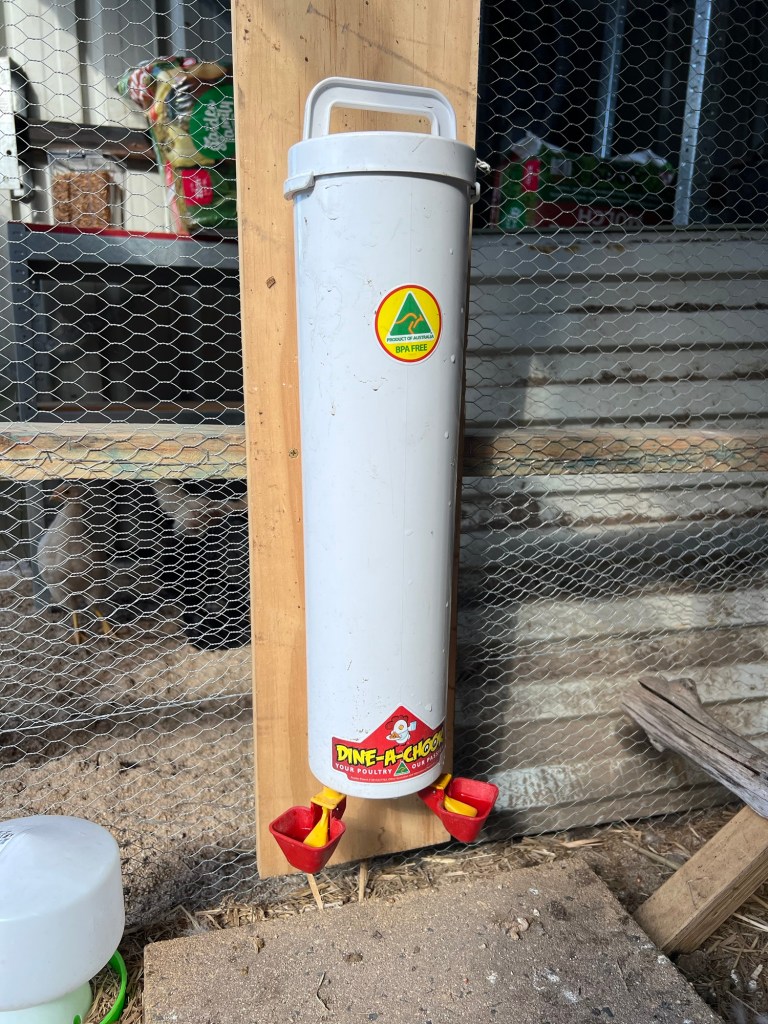
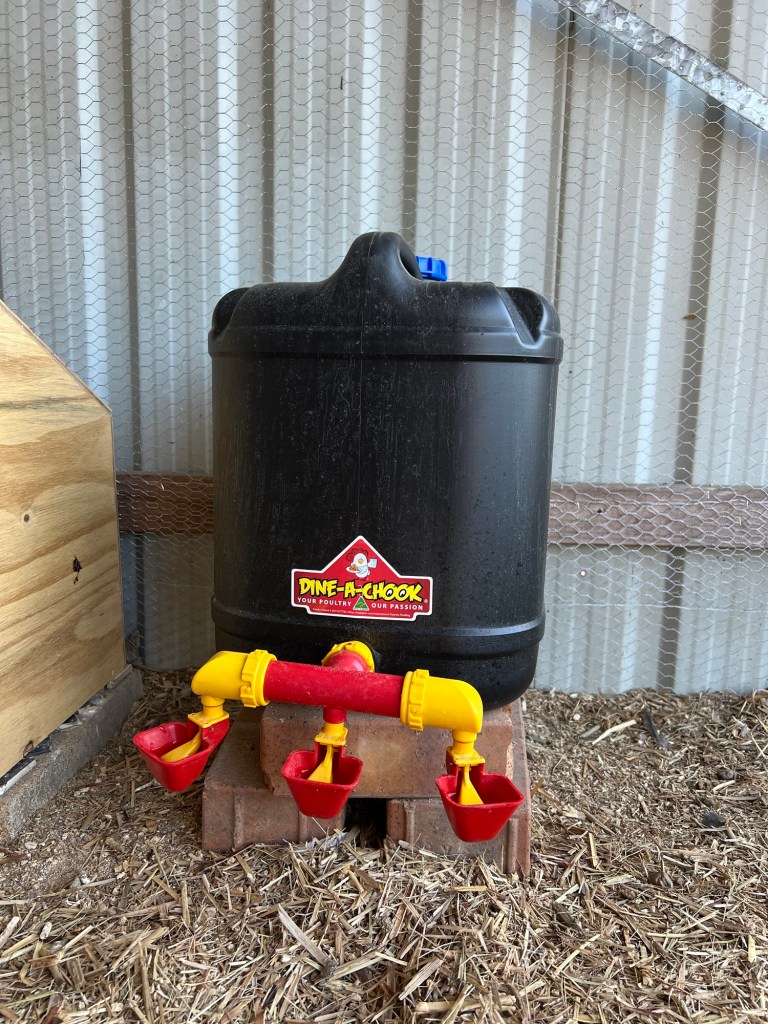
    We used one 20L waterer with three drinking nipples and one 4L with two nipples, both from Dine a Chook. This setup gives our flock plenty of water, and the enclosed cups stay clean — meaning I only need to clean and refill them every few weeks.

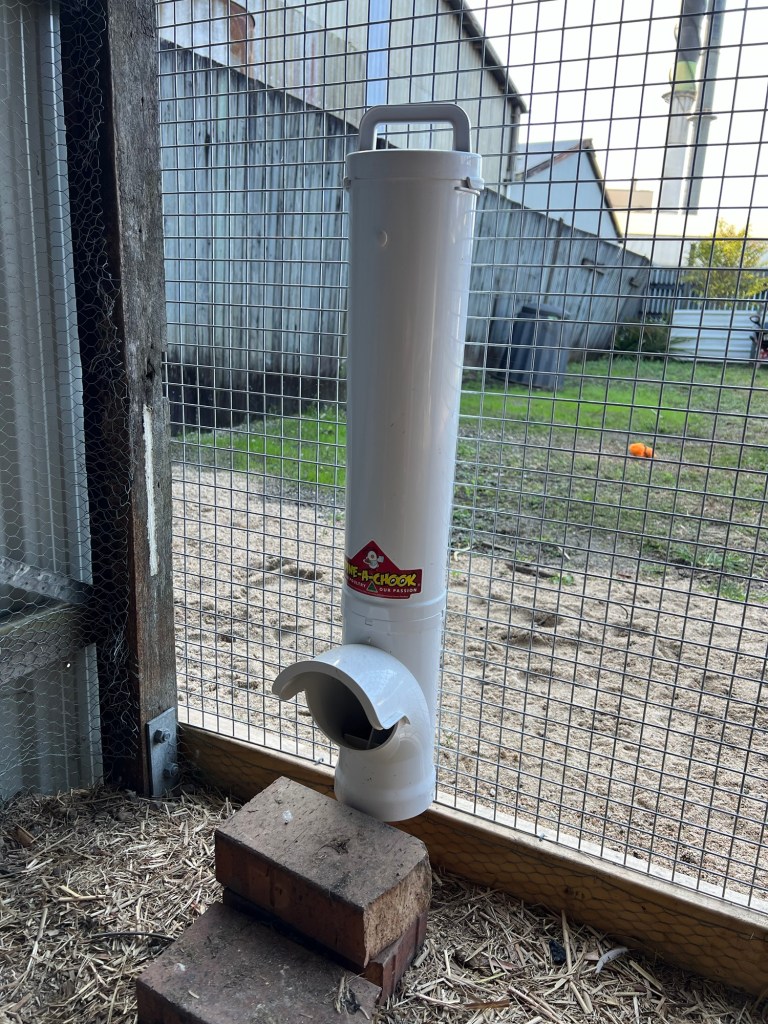
    For pellets, we used one 4.7L feeder from Dine a Chook, and one 4kg steel feeder from Petstock. The girls will basically eat as much as we let them, though we try to make up a good portion of their diet from foraging and food scraps. (FYI: They go nuts for corn on the cob. It’s a certified crowd favourite.)

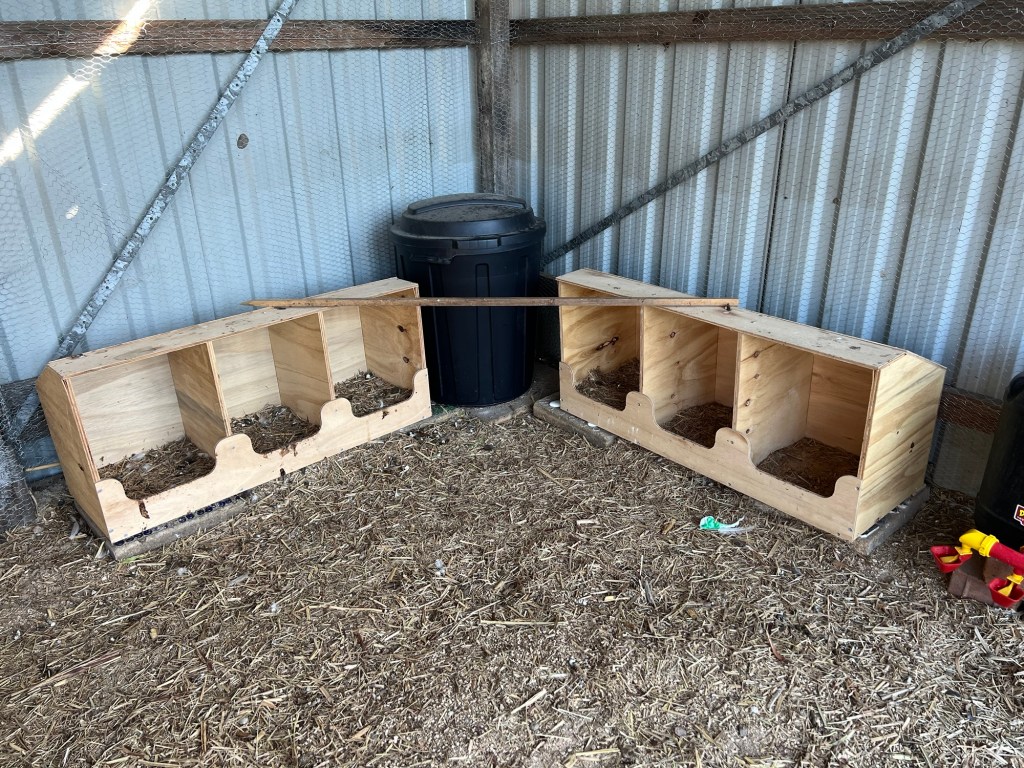
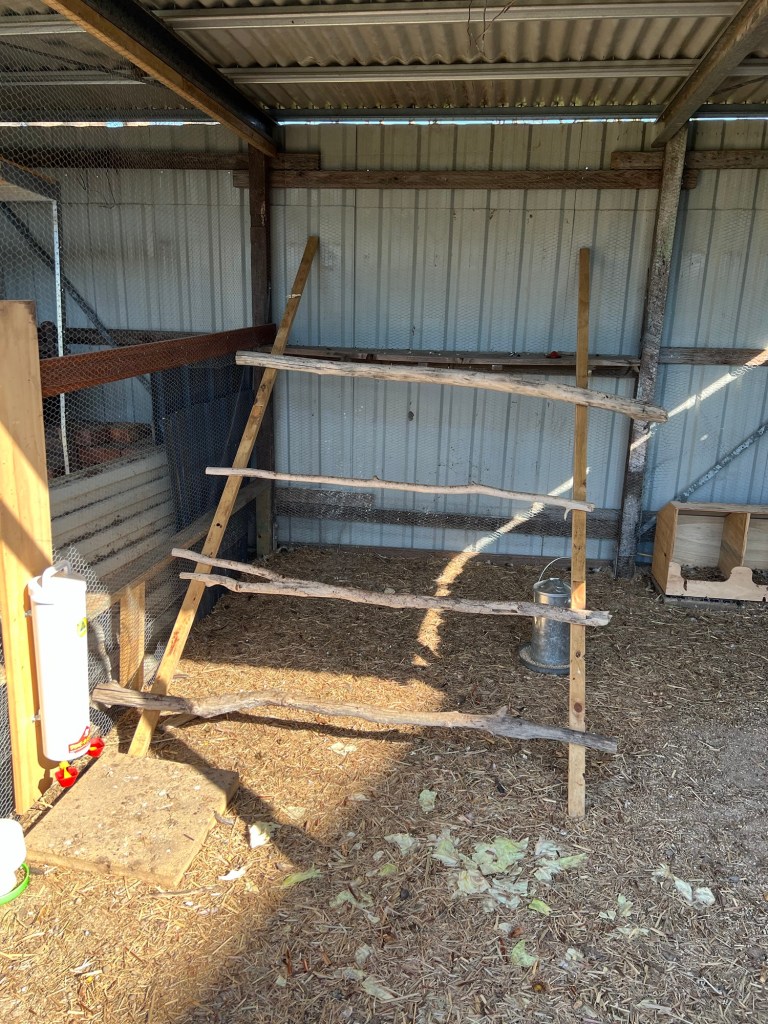
    For sleeping, we added two 3-hole nesting boxes propped off the ground on pavers to allow for ventilation. While the girls were still small, we aimed a heat lamp at the boxes so the flock could huddle together at night. As they got older and we wanted to encourage proper roosting habits, we built them a perch: four tiers of locally collected driftwood, nailed to a wooden frame. It took us less than an hour from collection to install — and the girls took to it like fish to water.

    Flock selection 🐣

    With the coop ready, the final step was getting chickens into it. This is where we may have gone a little… overboard.

    It started innocently enough with six week-old Silkies from a local breeder. That was the last logical decision we made.

    The cutest little silkies you ever did see! 💛

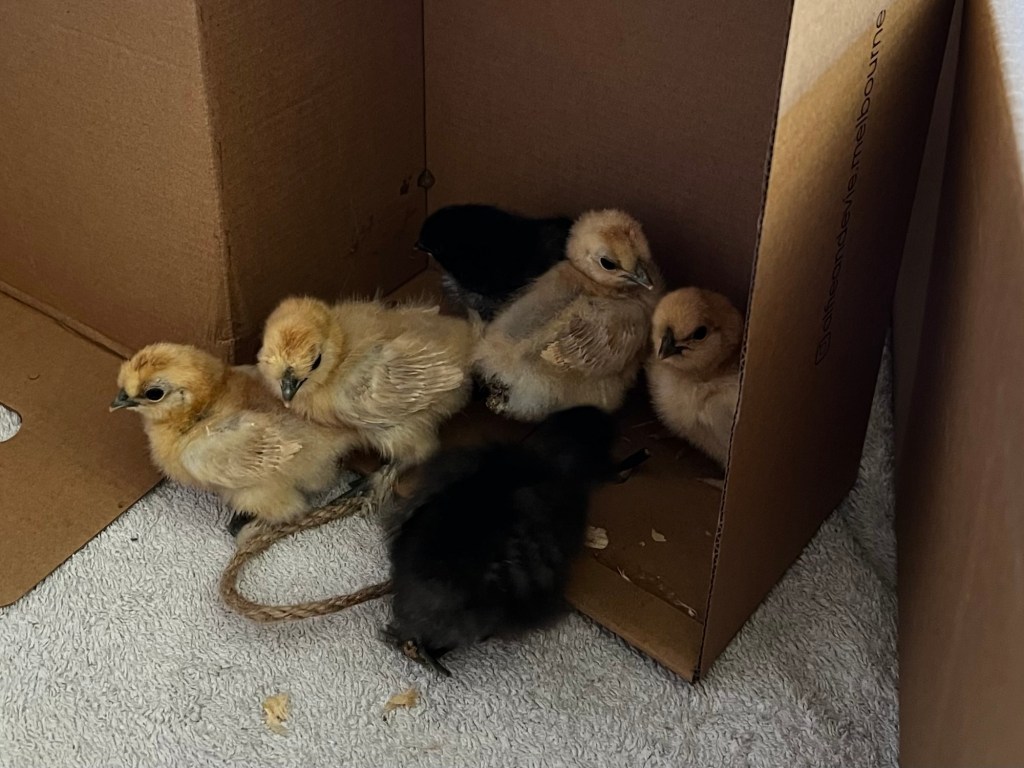
    Because Silkies are small and not the most consistent layers, we planned to bulk out the flock with some commercial layers. But when I went to pick them up, I must have experienced a cuteness blackout (it’s a real thing!) and somehow came home with ten. Just like that, we went from six manageable chickens to sixteen.

    Our ten dinosaur-looking teenage commercial chicks in their new home 🦖

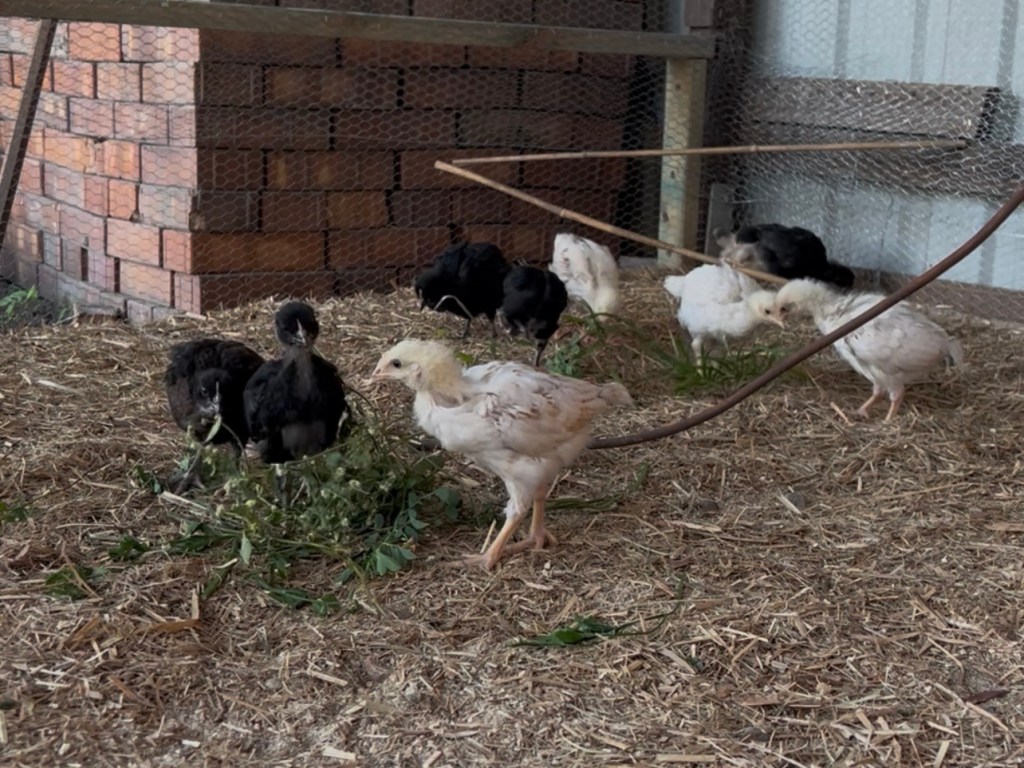
    We’ve got a few lingering doubts about whether that’s too many for our 4×4 m space, but so far everyone seems happy and healthy. We’ll reassess once they’re all fully grown.

    Conclusion

    ItemQuantityCostLink
    Predator mesh2 x 50m$73.31 ea (146.62 total)https://www.bunnings.com.au/jack-30-x-1-3cm-50m-bird-netting_p3040974
    Rigid mesh panel (for doors & front of coop)3$83.99 ea (251.97 total)https://www.bunnings.com.au/rapidmesh-180-x-120cm-25-x-25-x-2-5mm-silver-wire-mesh-panel_p0082429?msockid=3f191000dbd964003cc70399da3465fc
    GravelApprox. 1 tonneFree
    Sand coarse2 1/2 tonnes$80/tonne (200 total)
    Sugar cane mulch1/week$16.98 eahttps://www.bunnings.com.au/the-garden-family-22m2-sugar-cane-mulch_p0583511?msockid=3f191000dbd964003cc70399da3465fc
    Nesting boxes2 (3 bay)$100 ea ($200 total)https://lensfeedshed.com.au/collections/poultry-birds-other-accessories/products/nesting-box-triple
    Waterer1 x 4L + 1 x 20L$57.95 ea + $84.95 eahttps://www.dineachook.com.au/dine-a-chook-chicken-drinker-twin-lubing-cups/

    https://www.dineachook.com.au/drum-drinker-triple-outlet-lubing-cup-20l/
    Feeder2$69.95 + $34.97https://www.dineachook.com.au/dine-a-chook-large-chicken-feeder/

    https://www.petstock.com.au/products/lexi-me-galvanised-steel-poultry-feeder-with-handle-4kg-variant-100000076610?queryID=66e0b930291718a38f5e7d07c44b257a
    Food storage1$15.99https://www.bunnings.com.au/willow-60l-black-dome-bin-base-only_p0182871
    Starter feed1 x 20kg$41.41Local store
    Heat lamp1$66.99https://www.petstock.com.au/products/reptile-one-ceramic-heat-lamp-reflector-100-watt-variant-171715000023?queryID=33f6805abcee0bcb6a9788781474f6c0
    Roosting bars4FreeLocal find
    Silkie chicks6$15 ea ($90 total)Local store
    Commercial chicks10$22 ea ($220 total)Local store
    Total$1497.78

    Building this coop was one of those projects that seemed simple and cheap enough to entertain us while we rebuilt our funds for the rest of the renovation, and inevitably spiralled into something both consuming and rewarding. Our setup is definitely more practical than pretty now, but it works, and we’ve got a whole list of ideas for future upgrades (solar lights you’re up first).

    Our little flock brings so much character (and compostable material) to the yard and even if they’re not laying golden eggs just yet, they’ve already earned their keep in entertainment alone.

    If you’re planning your own shed-to-coop journey, I hope this gave you a few helpful ideas (or at least a sense of solidarity). And if you’re here just to laugh at our descent into full-blown chicken parenthood… well, fair enough.

    The ‘before’
    The ‘after’
  • Episode #2: Dust, Droppings and Other Love Languages

    The cardboard pathway: thoughtfully left behind by the previous owner, enthusiastically removed by Seb.

    Pulling into the little dirt driveway on night one was a little bit like stepping into a frozen picture scene— if the picture was of banged up doors, scrubby grass peeking out from beneath cardboard pathways the lingering feeling someone had left in a hurry.

    Inside was a whole other story. It brought to mind that old Christmas carol, except in this reality I got—

    • Four catty rugs,
    • Three purple chairs,
    • Two disco lights, 
    • and a strange hole in the pantry. 

    Although that doesn’t quite begin to cover the entirety of what we found.

    I’m talking screw tails hanging out of random parts of the walls (painted purple to make them ‘invisible’), cat hair dusting every surface and droppings from an unidentified rodent like kitchen drawer landmines. The good news? I was absolutely spoiled for choice as to what to include in this post. 

    Ute Load #1–featuring the empty sideboard, purple chair and laundry basket full of disco equipment.

    So began Week One: The Great Purge

    My poor ute wore tracks between our driveway and the tip, loaded with broken wheelbarrows, holey curtains and a couple of rugs that literally crunched with kitty litter. Gone were the cardboard piles from the backyard, the broken lamps and drawer-less sideboard.

    Only a few items were spared my evil eye, including a black tv cabinet (who’s on thin ice), some terracotta garden pots and—surprise—a full set of roof gutters behind the garden shed. 

    But the worst find of all? The black mould creeping along the skirts of shared bathroom and kitchen wall. 

    The kitchen’s haunting silhouette of a cabinet past—because why fix mould when you just shove some furniture in front and paint around it in lavender?

    Reality Check: This is Adulthood.

    The first week in the house was a roller coaster— equal parts exhilarating, grim and bonding. 

    With an empty house now (mostly) free of cat hair, we could finally take stock of how much work lay ahead. Every room needed attention—from faded floorboards to flaky ceilings—and with so many jobs to tackle, we quickly hit decision paralysis. 

    Where do you even begin? Do we go room-by-room and strip the lead paint? Or tackle something “easy” like the wasp nests on the front porch? The black mould situation in the bathroom wall seemed a pretty likely contender too. The house was starting to feel like a mountain, and Seb and I? Two very unequipped mountaineers. 

    Remember how alluring adulthood felt when you were a teenager? All that independence and free-will waiting just for you? Until you finally get a full time job and realise freedom is actually just… more work. That’s what this felt like. The ecstasy of having your own space clashed hard with the sheer scale of the project ahead. It was hard not to just spend the first few nights wandering in silence—room to room—cataloguing every crooked line and creaky sound that was now officially our problem.  

    So how did we finally pick a starting point, you’re wondering? I’d love to say we weighed our options and made a solid plan— but the truth is, we were left with little choice. The house picked for us. Or rather, it shoved Seb straight into the deep end of the bathroom.

    But that’s a story for another post. You’ll have to stick around to see how that went.

  • Episode #1: Falling for a Queenslander

    Meet Level-ish: crooked, creaky, and now it’s ours.

    When most people picture falling for a Queenslander they’re probably picturing a sun-tanned, salt-bleached surfer, not a cyclone-scarred, slightly overgrown weatherboard shack. So if you came here for beachy babes—sorry, but this isn’t that story. 

    This is a different kind of love story— the girl meets boy, they meet a fixer-upper kind. 

    My name’s Maddy—a Sunshine State native and loyal East-coaster—and before I ever held a spirit-level, I fell for a rural-raised Kiwi named Sebastian. Luckily for me, Seb apparently has a thing for quirky Queenslanders- first myself, and now a slightly crooked shack on stilts. She’s charming, haunted with just a slight lean. She’s Level-ish. 

    The universe and a purple Queenslander.

    Some moments in life seem very serendipitous, like finding the perfect job or stumbling into your new favourite cafe on a random Sunday, but I like to believe that ‘fate’ is just an alignment between hard work a sprinkle of opportunity. Kind of like when you spend months manifesting the perfect outfit to appear in an op shop and then just ‘stumble’ upon it like destiny! Except you’ve already spent hours scrolling Pinterest for ideas, browsing Depop for prices and returning empty handed from the salvos over and over until MAGIC— that festival set is suddenly there! Was it really fate, or a little bit of nudging from you to point the universe in the right direction? Well, finding this house was a little bit like that serendipitous feeling. 

    In this case, the Pinterest board was filled with wraparound verandas, timber floors and light, airy rooms. And luckily, there’s no one more determined to executing a vision as Seb— especially when that vision is house ownership. So when he finally had the deposit ready and a mortgage broker lined up, it really did feel like the stars had aligned. This little Queenslander appeared for the perfect price, in the exact location he’d been obsessively browsing morning and night. Never mind that she was a bit overgrown and dripping purple paint over the original lead—she had enough personality to make up for all of that. And just like everything else with this house, even the handover process was a little quirky. But hey, we got the keys—and the rest is character-building. Right? 

    So why blog it?

    Now she’s entirely ours, and all that’s left to do it document the process so we can have something to look back on while I’m floating in the pool with a margi in a years time! And that’s why I’m writing it all down here— I created this blog to record this journey through a series of progress updates, before and afters, DIYs, product reviews and mood boards (as well as a few rants I’m sure). So if you can stomach the cheesy humour and are curious to see how we go, I welcome you to follow along and cringe at each mistake with me. 

    First week in will be all about clearing out the clutter. I felt like I needed a sage stick to smudge out the previous owners vibes when we finally walked through the front door— but honestly one stick wouldn’t have stood a chance. We are talking fresh holes in the walls and floor, some questionably painted pallet furniture and a rug whose previous life might’ve been as a kitty litter tray… Standing in the kitchen surrounded by neglected trinkets and forgotten cardboard piles, it felt like the house had been paused mid-chaos, and now we were here hitting play.

    Next up: cleaning, scrubbing and maybe staging a mild house exorcism.